
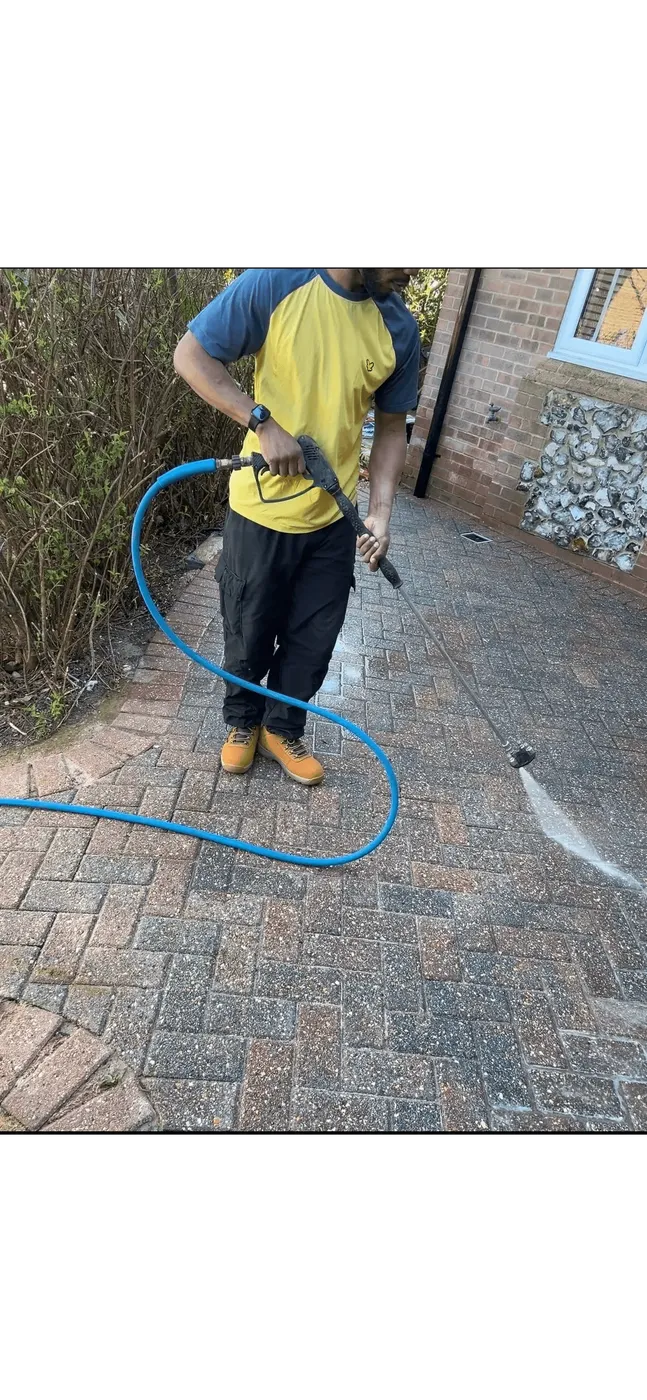
Pressure washing will not usually damage the blocks themselves if it is done at a sensible pressure and a shallow angle. The real risk is the joints. High pressure blasts out the kiln dried sand that locks the blocks together, and paving with empty joints starts to shift, sink and grow weeds. Re-sanding has to be part of the plan.
That is the short answer. Below is what actually happens to a block paved drive when it is cleaned, where the damage really comes from, and what re-sanding involves so you know whether the job you are paying for is a full one.
The blocks are tougher than the joints
Concrete and clay blocks are dense and made to take a car on them every day. A cleaning lance is not going to destroy them in normal use. What does mark them is holding the lance square to the surface, close in, and moving it slowly. That cuts fine lines into the face of a concrete block, and the giveaway afterwards is a pattern of stripes running across the drive in the direction the operator walked.
Marshalls, one of the largest UK paving manufacturers, sets out the safe approach in its own cleaning guide: the pressure washer should be angled at 30 degrees and sprayed diagonally on a medium pressure. It also warns that not following that advice may mark the surface of some paving materials and break up the jointing material, resulting in the need to re-sand. That last part is the bit most people find out about six months later.
What the jointing sand is actually doing
The sand between the blocks is not a finishing touch, it is structural. Bradstone sets out the same three jobs we see on every drive:
- It locks the blocks against each other so a load spreads across the whole surface instead of pressing through one block.
- It keeps weed seeds out of the gaps, because a full joint gives them nowhere to settle.
- It controls how rainwater drains through the surface rather than pooling on it.
- It stops blocks rocking and tilting, which is what wears the edges and eventually chips them.
Marshalls is blunt about the consequence: it is important that these joints are topped up with jointing sand to prevent damage to your driveway. Once the joints are empty the blocks are just sitting there loose, and every car that turns on the drive nudges them a little further out of line.
How much pressure is too much
The manufacturers and the trade guides all converge on the same idea: keep the jet shallow, keep it moving, and keep it off the joint lines. Marshalls says 30 degrees and medium pressure. Jewson's block paving guide says to position the washer at 45 degrees to lessen the force applied to the sand. Pavingexpert, the long-running UK paving reference site, prefers a rotary head cleaner because the water jet is carefully angled to ensure maximum cleaning impact with minimum threat to any jointing, and says a lance should be used at a safe, shallow angle with a splayed fan of water.
What goes wrong is usually one of these:
- Holding the lance square to the surface and close in, which etches lines into the block face.
- Running the jet straight along the joint lines, which excavates the sand in seconds.
- Winding the pressure up to shift a stain that actually needs a treatment rather than force. Black spot lichen is the usual culprit, and no amount of pressure removes it for good, which is why it is treated with a biocide instead. Our <a href="/services/soft-washing/">soft washing</a> page covers that.
- Cleaning the drive and then walking away, leaving the joints open through a wet winter.
Where extra care matters
- Concrete blocks: the colour pigment sits in the top few millimetres, so a heavy lance held close can lighten and stripe them permanently.
- Clay pavers: hard-wearing and coloured right through, so they hold their look well, but the arrises can chip if the jet is aimed straight at an edge.
- Older drives: blocks laid decades ago are often thinner, and the sub-base underneath has had longer to settle, so weaknesses show up quickly once the joints empty out.
- Permeable block paving: the joints are filled with an open-graded aggregate rather than kiln dried sand, and the surface drains through them by design. Marshalls confirms that for its Priora permeable range the bedding and jointing material need to be an open-graded aggregate. Tell your cleaner if you have it, because it needs a different approach and different jointing material.
What re-sanding actually involves
The single thing that decides whether re-sanding works is how dry the paving is. Bradstone is clear that the paving must be completely dry before re-sanding, because moisture makes the sand clump and stops it filling the joints properly, and that it should be done in dry weather. Drying takes longer than people expect. Pavingexpert allows at least three days in summer, and up to two weeks in winter, for a washed drive to dry right through before anything else is done to it.
Once it is dry, the job itself is straightforward but worth doing properly:
- Spread kiln dried sand across the dry surface.
- Sweep it in with a soft broom, working from several directions so it drops down the joints instead of skating over them.
- Compact it down on larger areas so the sand settles rather than bridging halfway.
- Top up and repeat until the joints are full to just below the chamfer on the top of the blocks.
- Sweep off the surplus so it does not end up washing into the gullies.
Kiln dried sand specifically, not building sand or sharp sand. It is dried and graded so the grains run freely into a narrow joint and pack down tight. Damp sand clumps on the broom, bridges across the gap and can stain the blocks. Whether re-sanding comes as part of the clean or as a separate line on the quote varies from job to job and from firm to firm, so get it agreed before anyone starts rather than finding out at the end. You can see how we approach a drive clean on our driveway cleaning page.
When cleaning is not the answer
Sometimes a drive does not have a dirt problem, it has a construction problem. A dip where the car turns in, blocks that rock underfoot near the entrance, an edge course that has drifted outwards: those are signs the sub-base or the edge restraint has moved. Cleaning makes them more obvious rather than better, and no amount of fresh sand fixes a settled sub-base. That section needs lifting and relaying, and it is worth knowing that before you book a clean and expect it to solve everything.
Frequently asked questions
Will a pressure washer ruin my block paving?
Not if it is used properly. The blocks stand up to cleaning at a sensible pressure and a shallow angle. Marshalls advises angling the washer at 30 degrees and spraying diagonally on medium pressure, and warns that ignoring that can mark the surface and break up the jointing material. The problem people notice months later is usually empty joints rather than damaged blocks.
Do I have to re-sand block paving after cleaning?
In almost every case, yes. Cleaning washes some of the kiln dried sand out of the joints, and that sand is what locks the blocks together, keeps weeds out and controls drainage. Marshalls says the joints need topping up to prevent damage to the driveway. Ask whoever is cleaning your drive whether re-sanding is included in the price or quoted separately, and get it settled before work starts.
How long should block paving dry before re-sanding?
Until the joints are dry, not just the surface. Damp sand clumps and bridges across the gap instead of dropping in. Bradstone advises re-sanding only in dry weather, and pavingexpert allows at least three days in summer and up to two weeks in winter for a washed drive to dry right through.
What sand goes in block paving joints?
Kiln dried jointing sand. It is dried and graded so the grains run freely into a narrow joint and pack down tightly. Building sand and sharp sand hold moisture, clump on the broom and can stain the blocks, so they are not a substitute. Permeable paving is different again and uses an open-graded aggregate instead.